k8s之攻击面管理asm部署
1. 虚拟机安装
虚拟机依赖安装
更新yum依赖
root@home:~# wget -O /etc/yum.repos.d/CentOS-Base.repo http://mirrors.aliyun.com/repo/Centos-8.repo
root@home:~# yum install epel-release
kubekey依赖安装
#centos依赖安装
root@home:~# yum install socat conntrack -y

设置hostname
root@home:~# hostnamectl set-hostname home

关闭ufw
root@home:~# systemctl disable ufw

关闭swap
root@home:~# sed -ri 's/.*swap.*/#&/' /etc/fstab    # 永久
root@home:~# swapoff -a      # 临时

关闭selinux
root@home:~# sed -i 's/enforcing/disabled/' /etc/selinux/config  # 永久
root@home:~# setenforce 0    # 临时

root@home:~# apt-get install socat conntrack ebtables ipset ipvsadm
kubekey安装
curl -sfL https://get-kk.kubesphere.io | sh -
部署包含kubesphere 的k8s
root@home:~# kk create cluster --with-kubesphere v3.2.1 --container-manager containerd
使用 IP:consolePort(default: 30880) 访问 KubeSphere UI 界面,默认的集群管理员账号为 admin/P@88w0rd。
2.安装ASM项目
git clone https://github.com/leveryd-asm/asm --depth 1
cd asm/
helm dependency update

kubectl create namespace asm

helm -n asm template ./ | kubectl apply -n asm -f -
域名访问
helm -n asm template ./ --set console_domain=asm-manage.com  | kubectl apply -n asm -f -

kubectl get pod -n asm
手动排错:
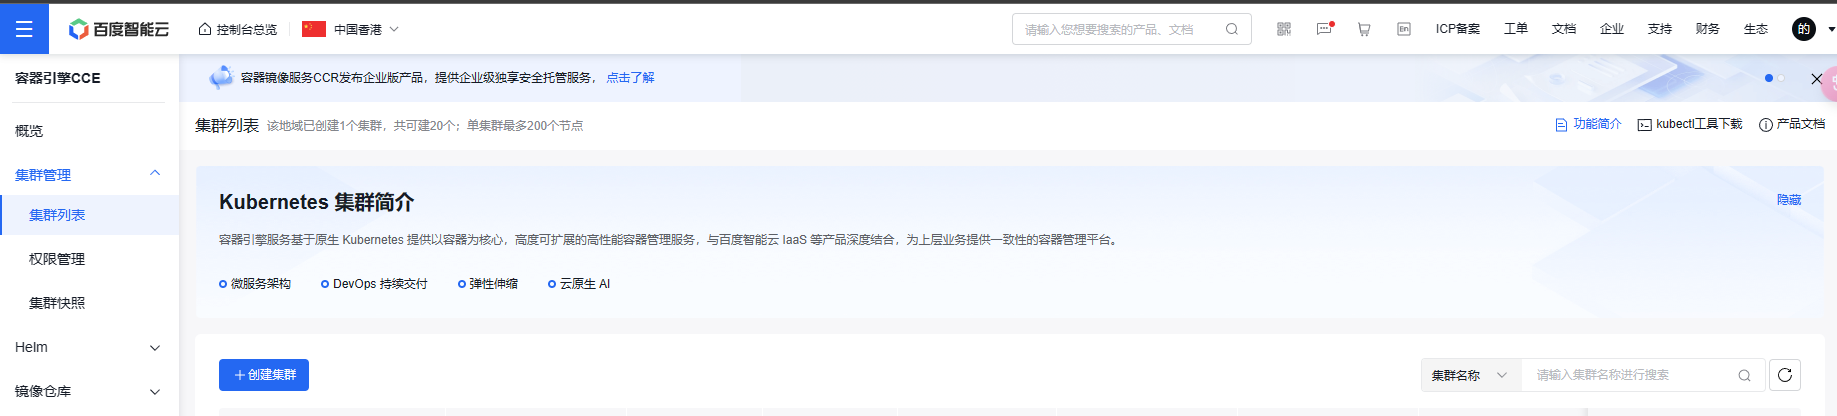
kubectl describe pod kubectl-admin-776b98f44f-h5c9l -n kubesphere-controls-system3. 云服务k8s
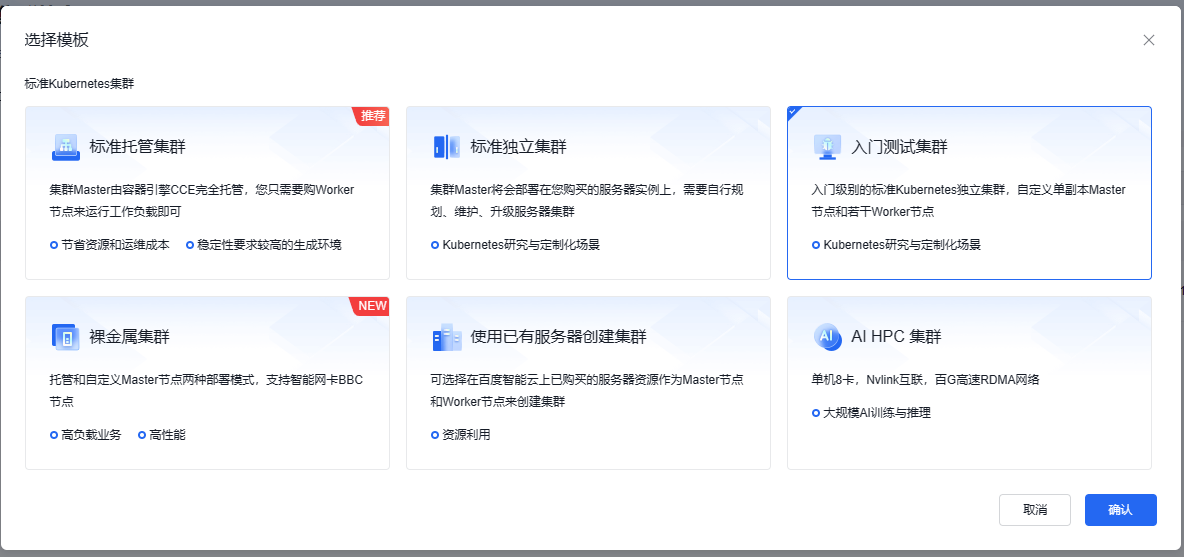
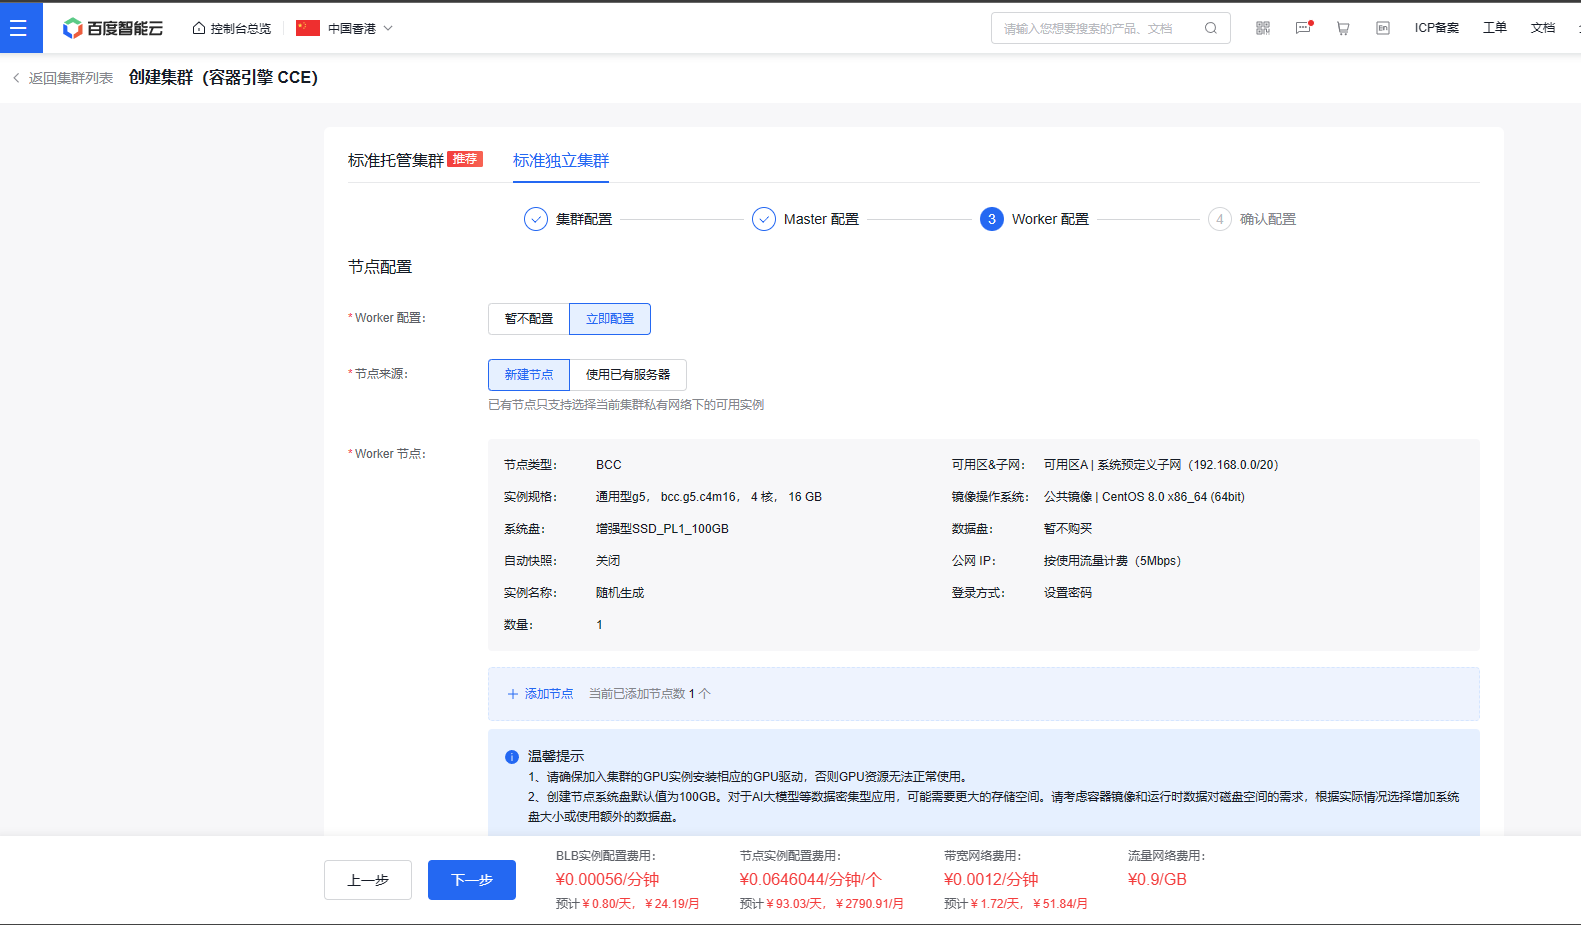
创建集群
选择入门测试
配置
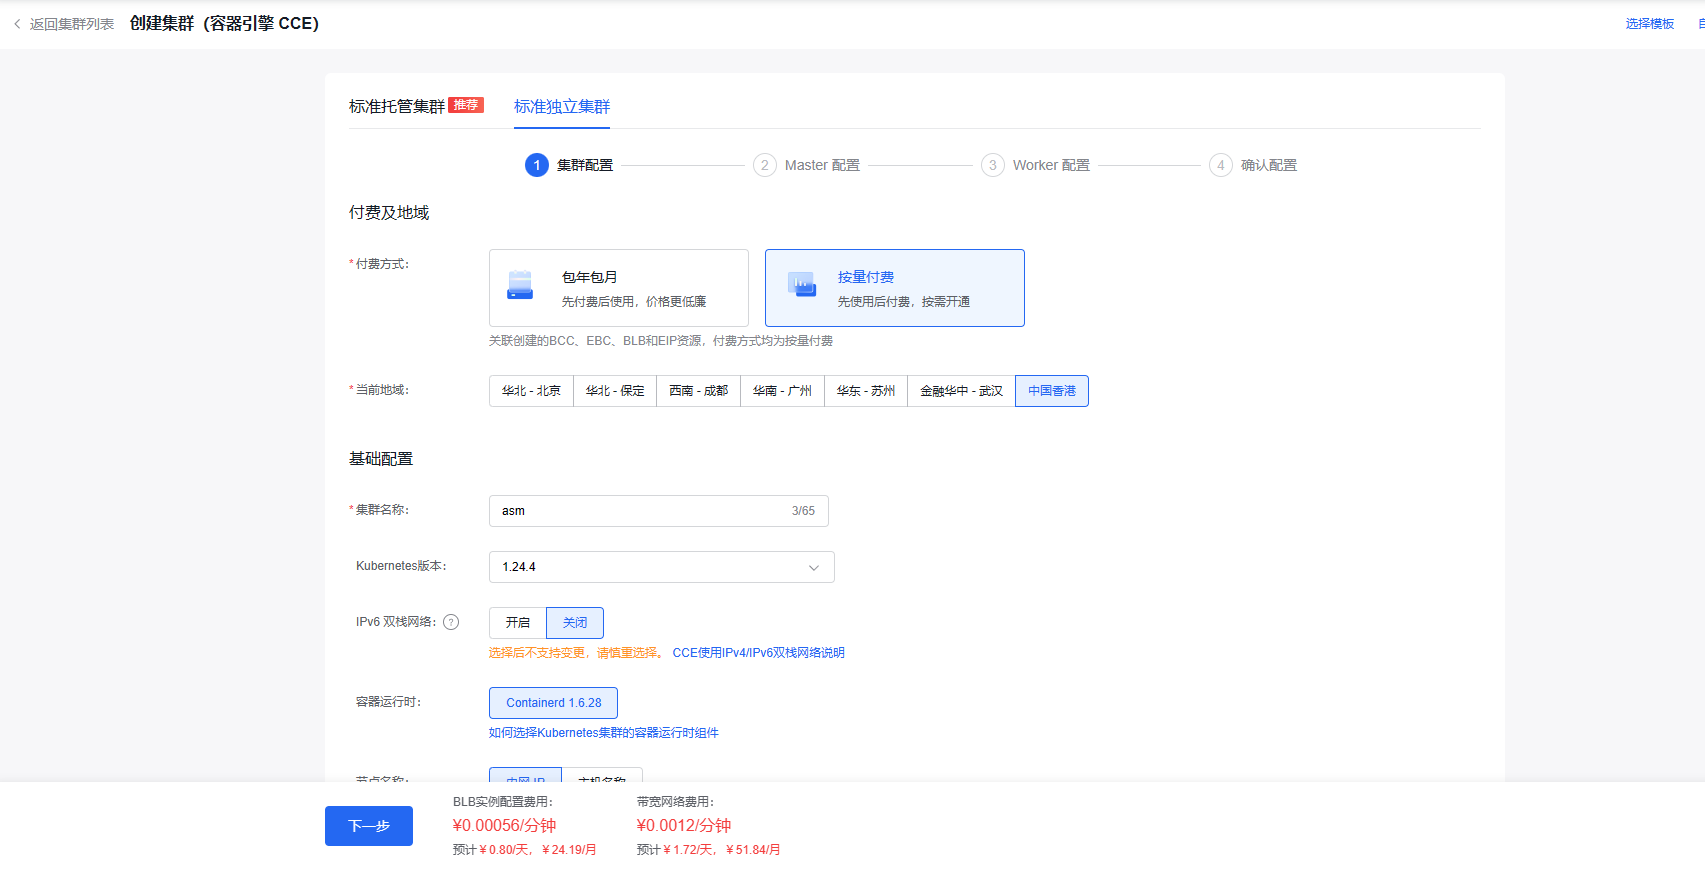
创建master
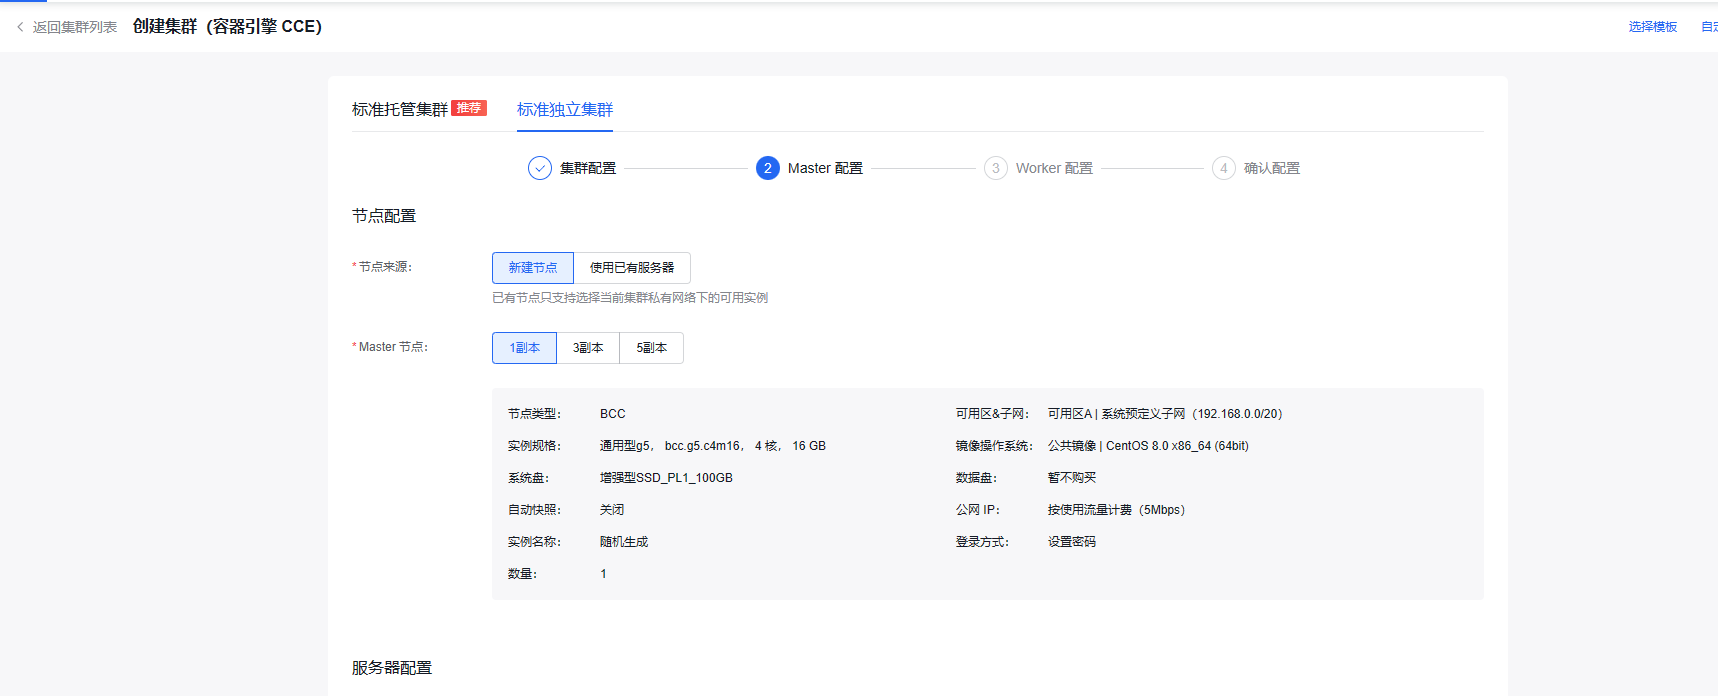
创建worker
使用ssh连接master,查看状态
kubectl get nodes
License:
杭州小单纯